IIS setup WCF with windows auth
Recently I had to install a WCF service in my local IIS server so I could tests a specific bit of security that I had added. Since this is the first time I did that, I thought I'd document the process for posterity.
Installing the development certificate
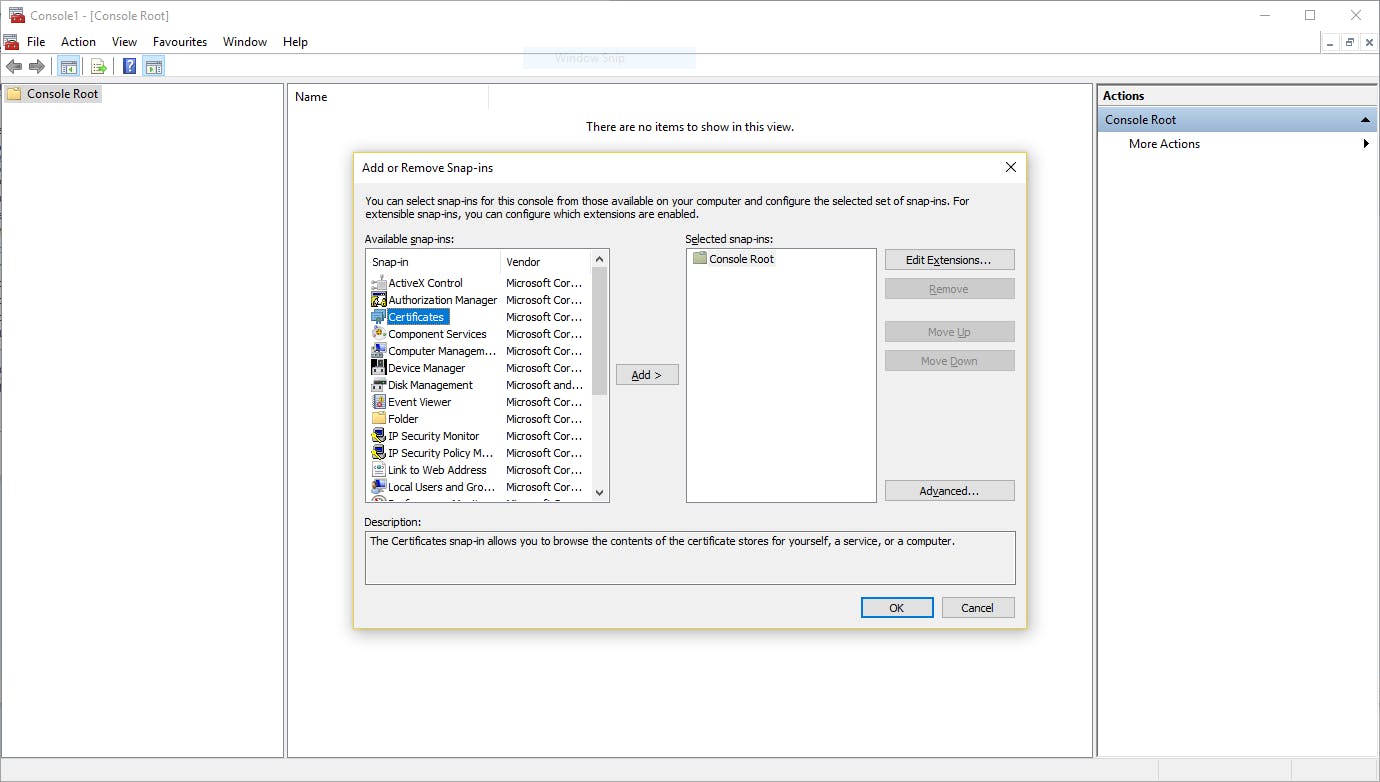
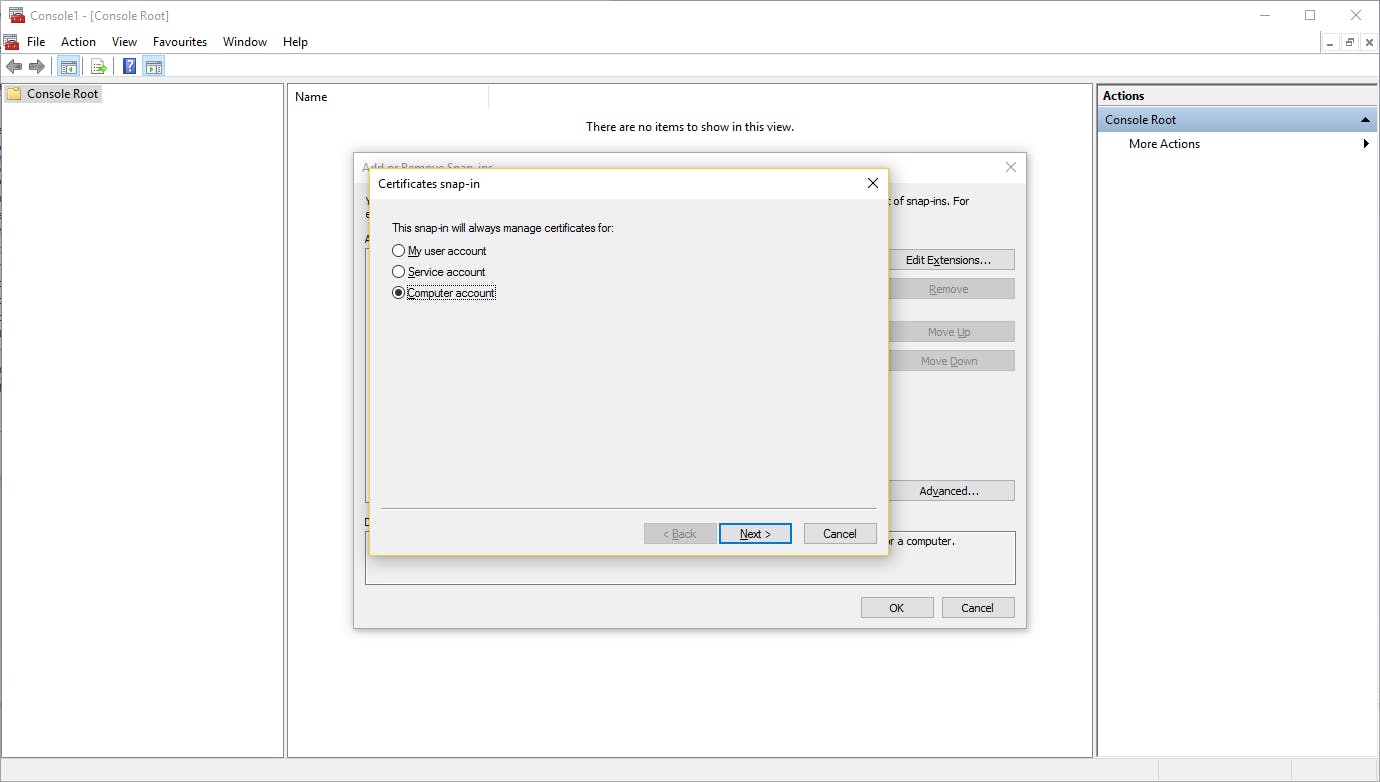
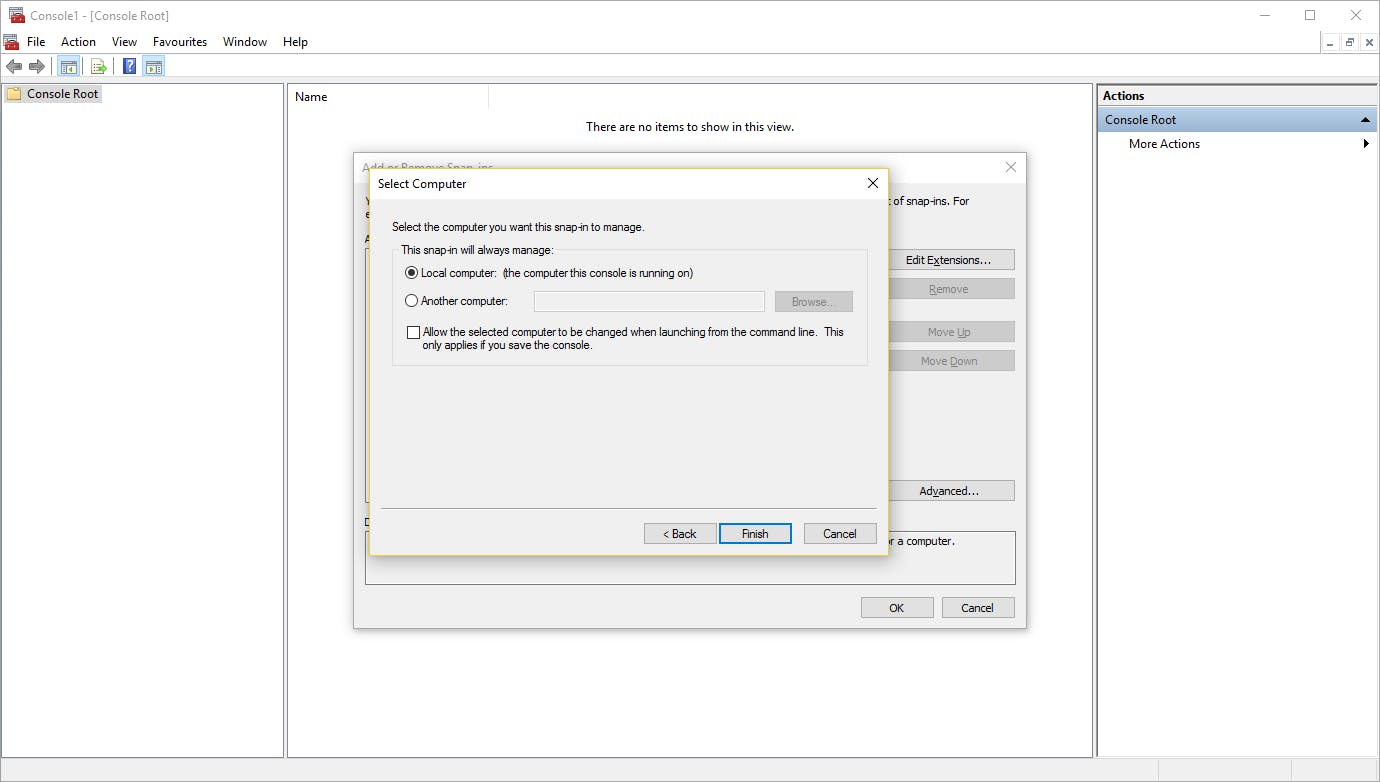
The first thing you need to do is to install the development certificate in your computers certificate store. Run the Microsoft Management Console (mmc) by pressing Win + R and typing mmc. In the mmc, click on the menu File > Add/Remove snap-in. Select the Certificates option and press Add. A new window will pop up. Select the Computer account option and press Next and Finish. Keep the Local computer option. Click on Ok to close the other window.
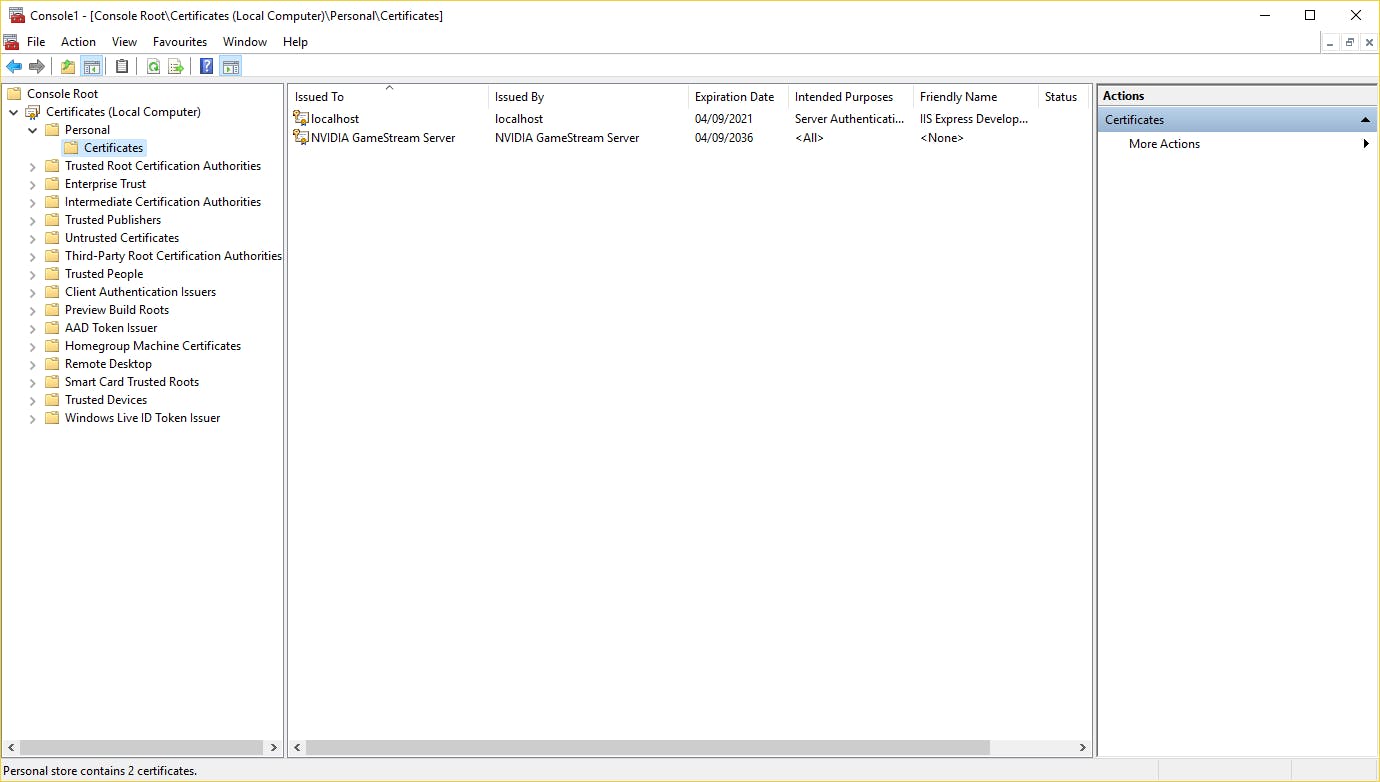
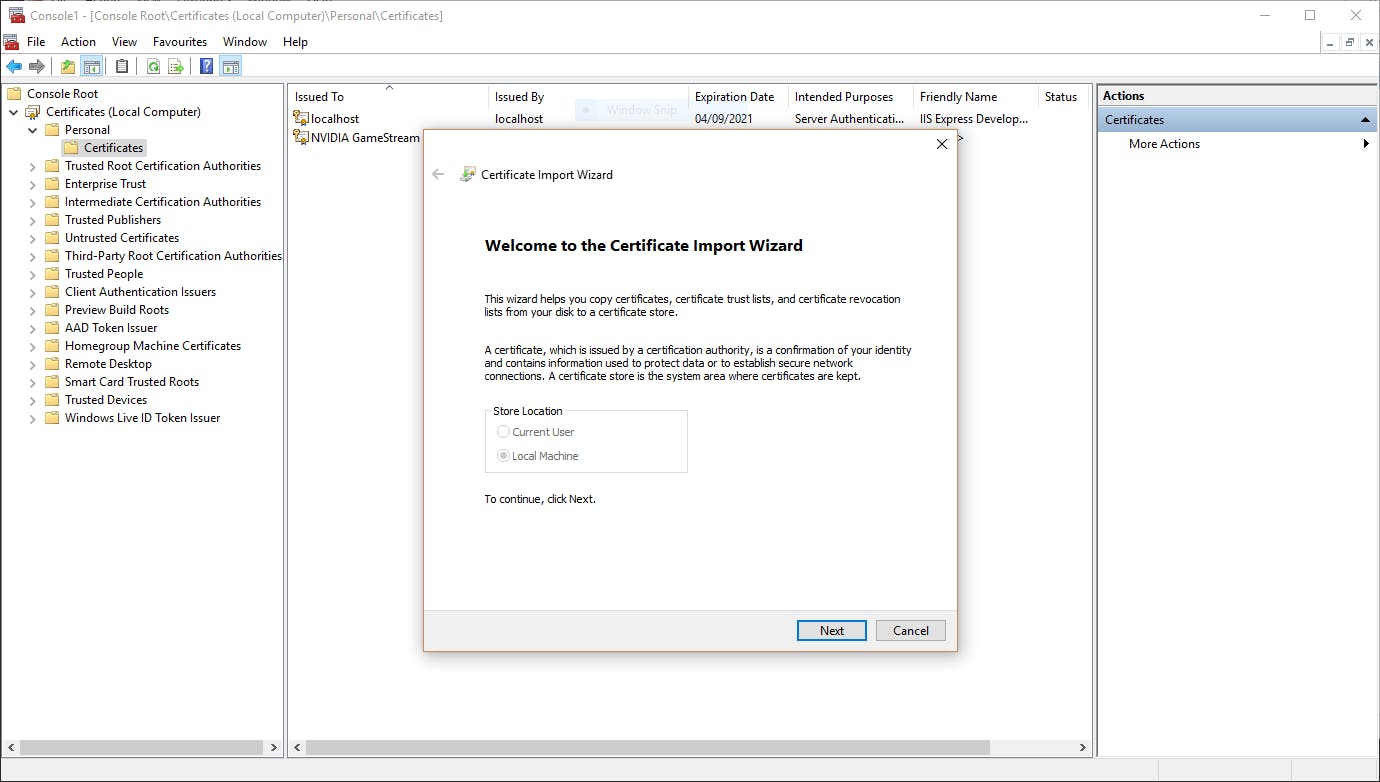
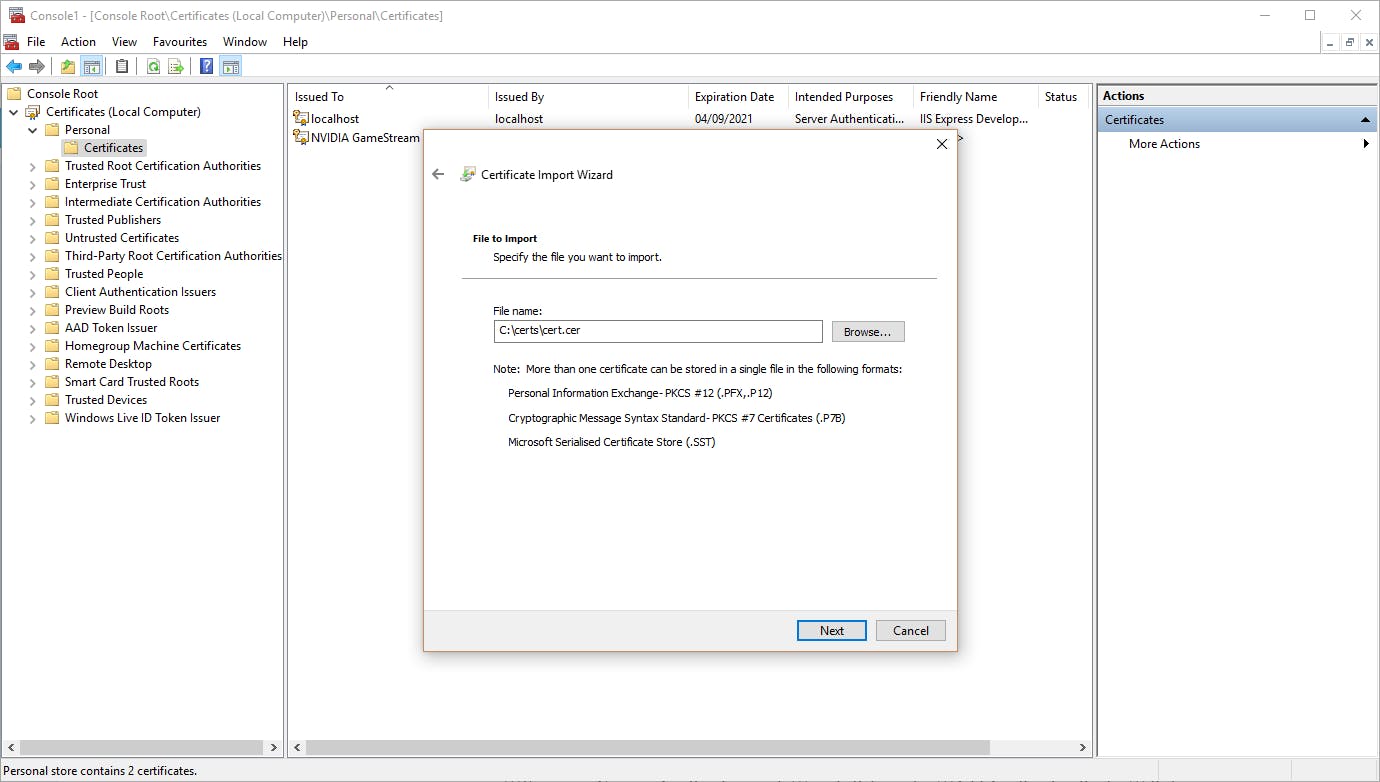
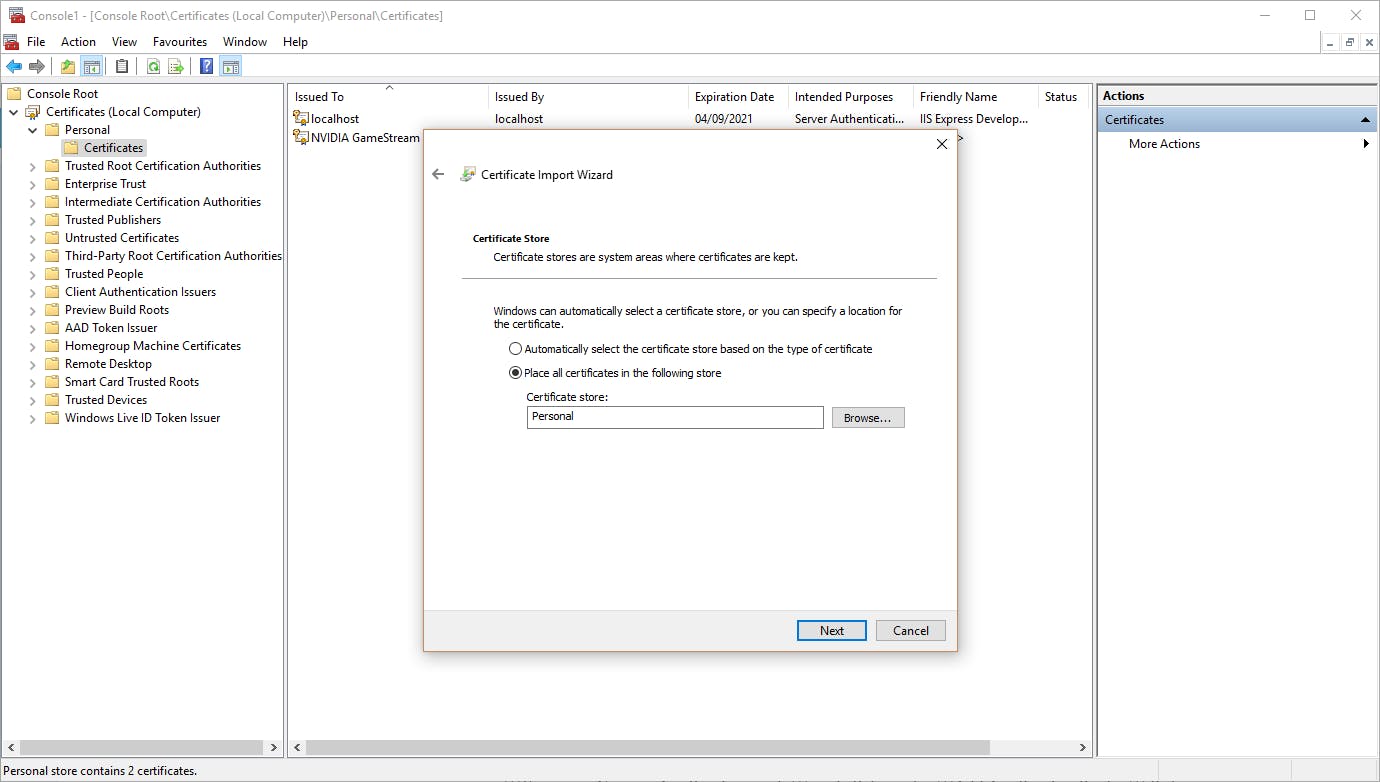
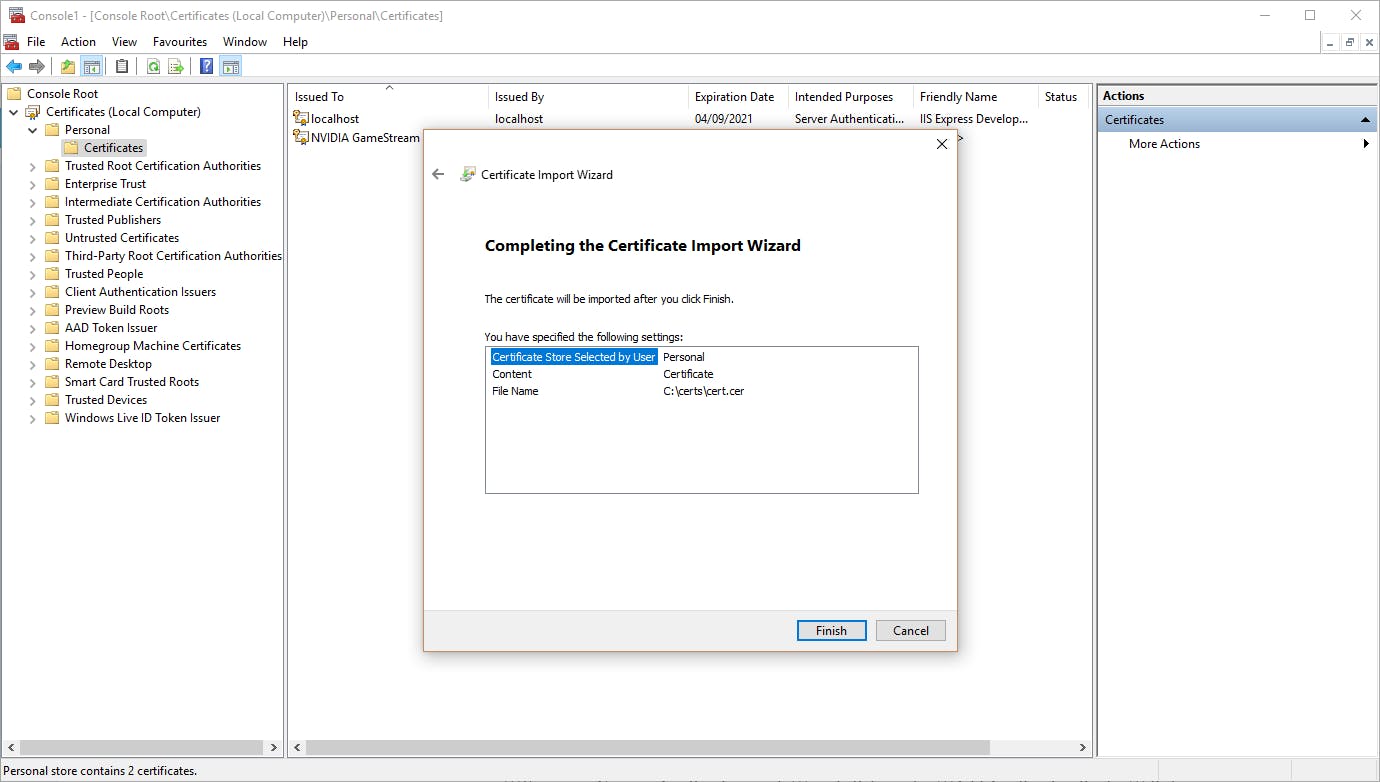
Now expand the tree to the left so you see the path Console root\Certificates (Local computer)\Personal\Certificates. Right click in the middle window and select the More tasks > Import... option. Click Next, select the development certificate, click Next again, choose the Personal folder to install the certificate in, click Next a last time and click on Finish.
Configuring IIS
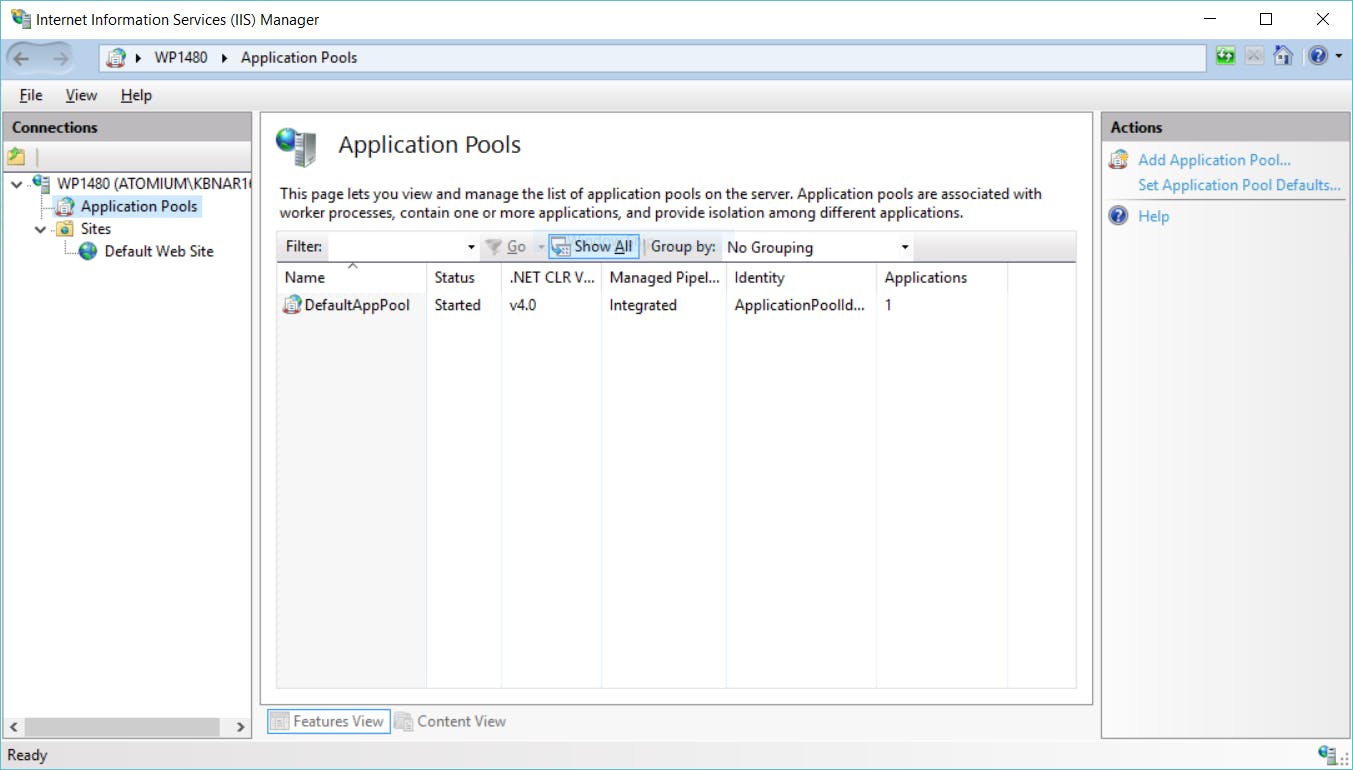
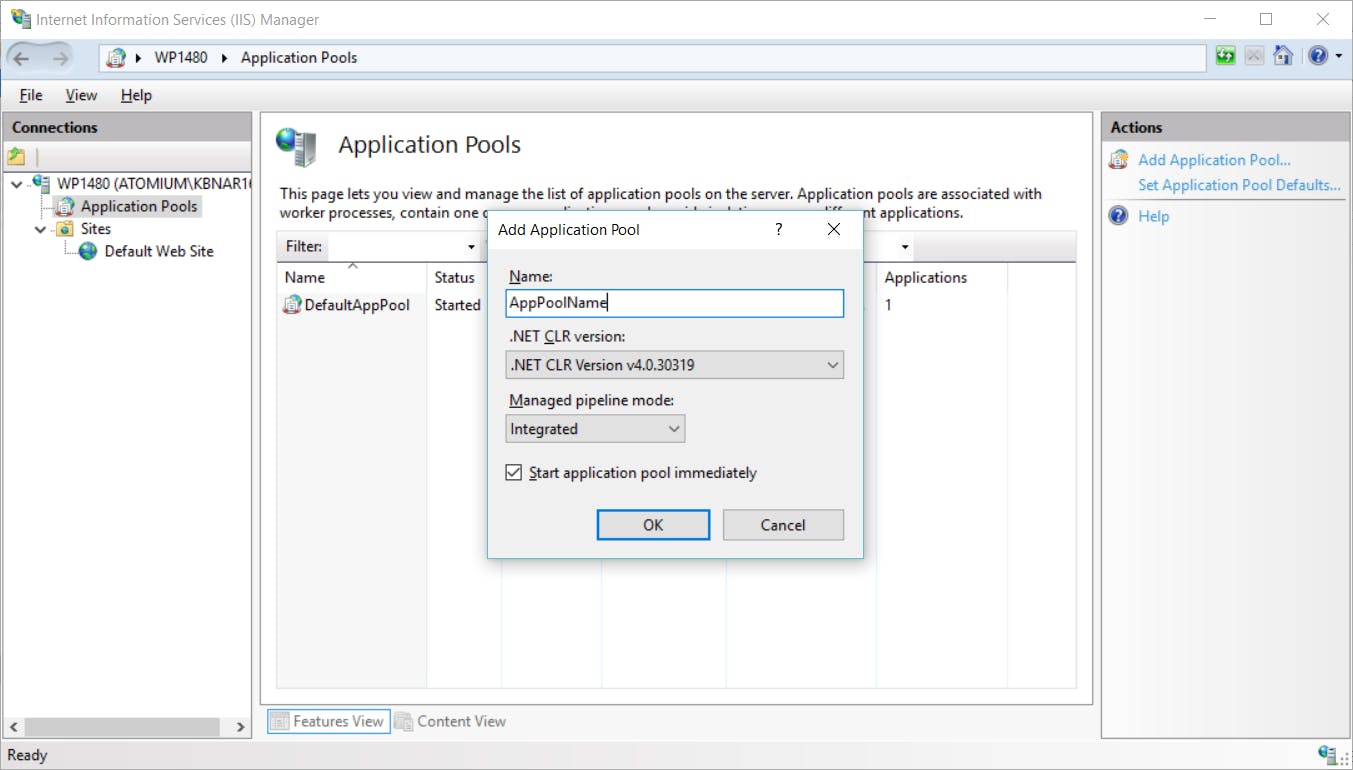
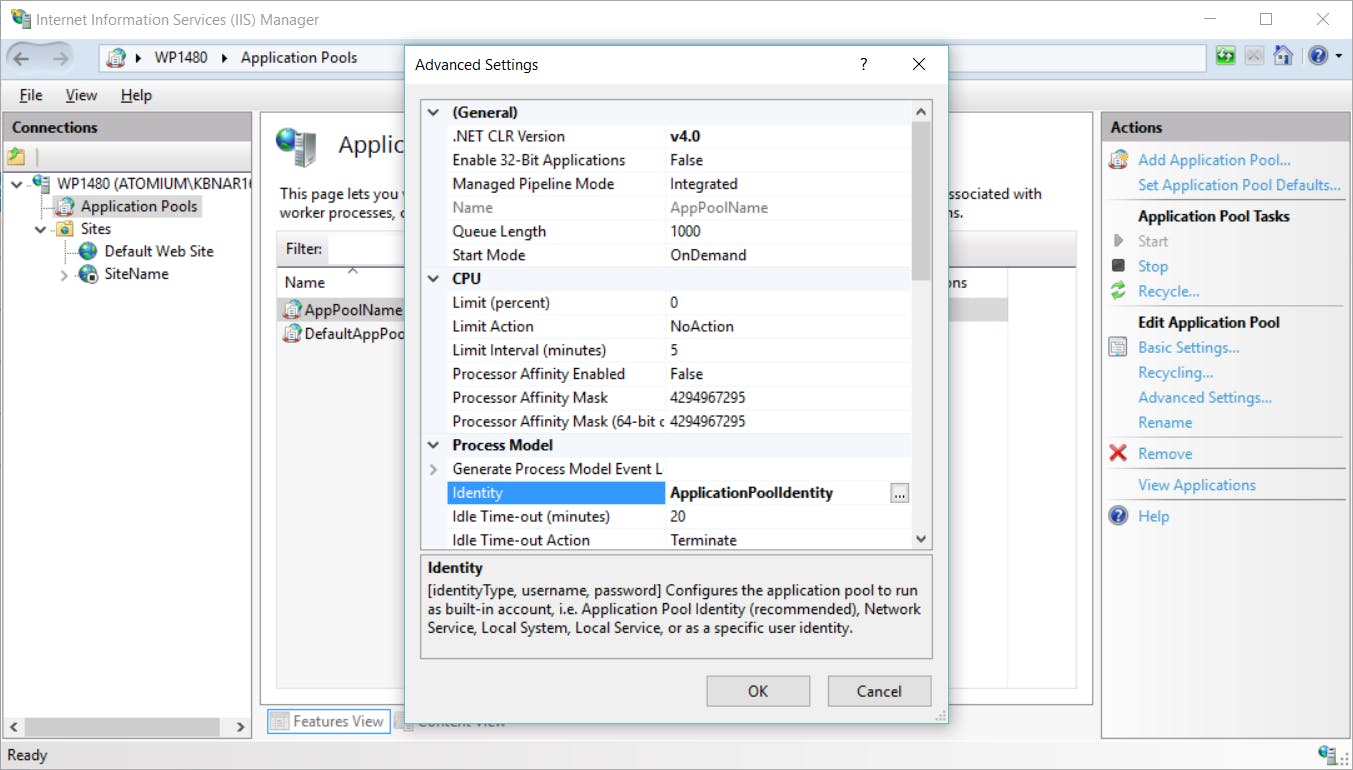
After this, you need to configure IIS. Open the IIS Manager, navigate to ComputerName > Application pools and click on the Add Application Pool... link to the right. Fill in a name you can remember, choose .NET 4.0.xxx as target framework and let the app pool start upon creation. Click OK. If the default app pool does not have sufficient rights, it's possible to give it another identity that has more rights on your machine. To do that, click on Advanced settings... and update the Identity option.
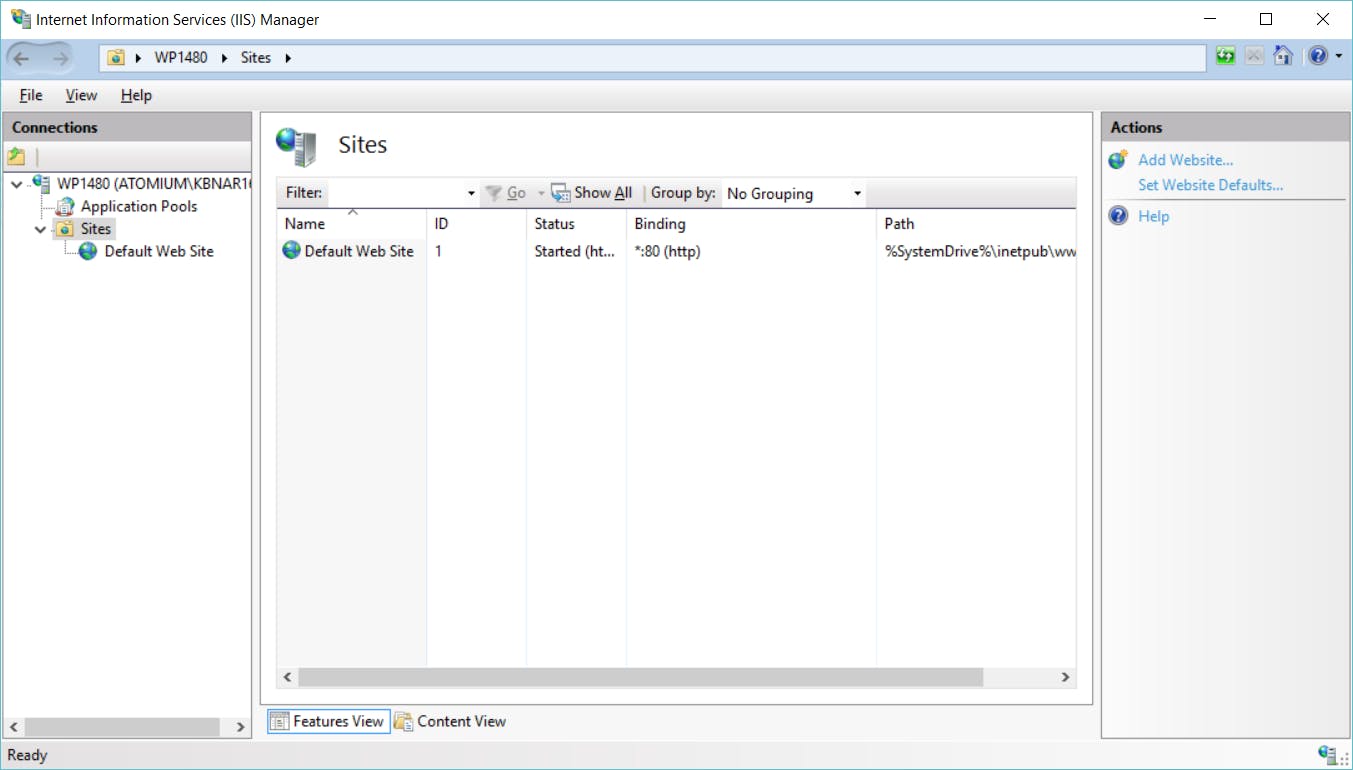
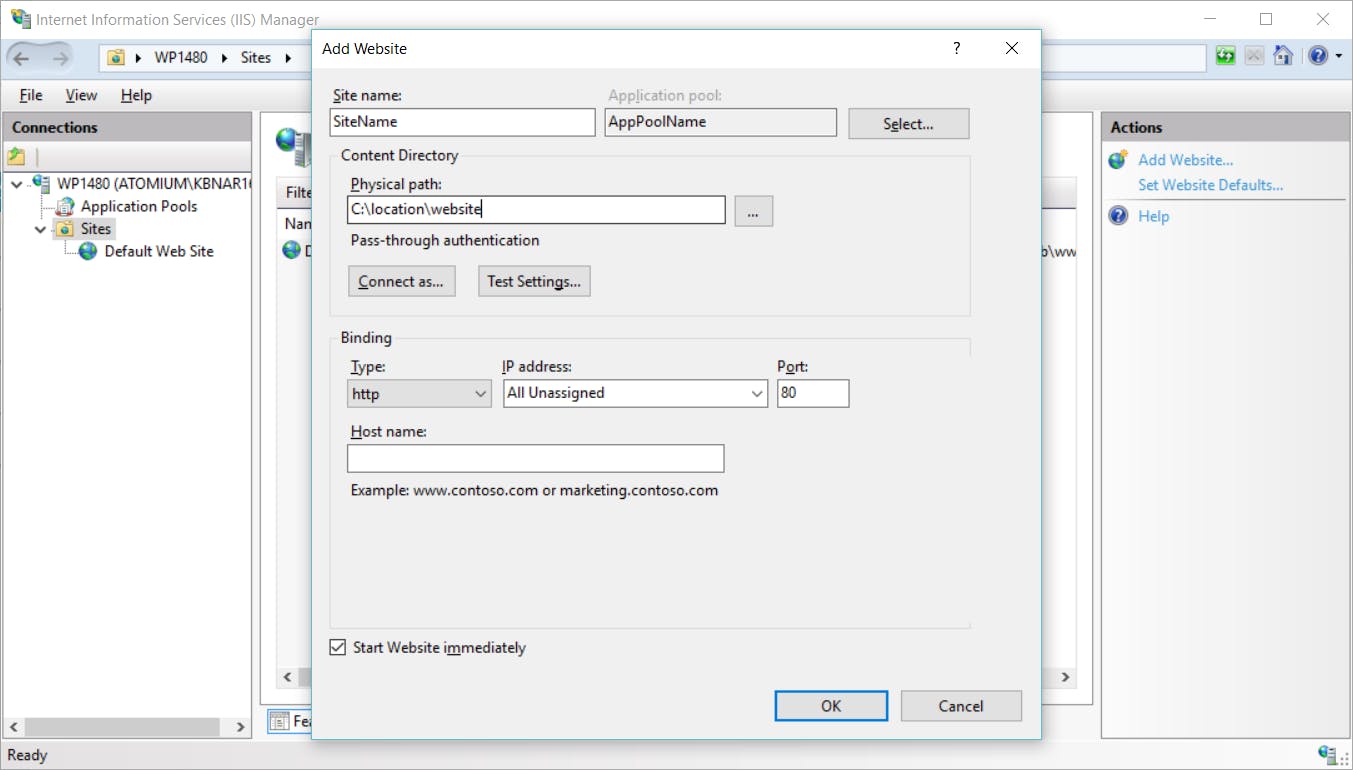
Next you create a new site. Set the name and select the recently created app pool. Point the Physical path to the location of your WCF service code, point it to the base folder of your code project to have always the latest version of the API available. You could give it a custom host name and add that name with it's IP to the hosts file to be able to reach it on a readable url.
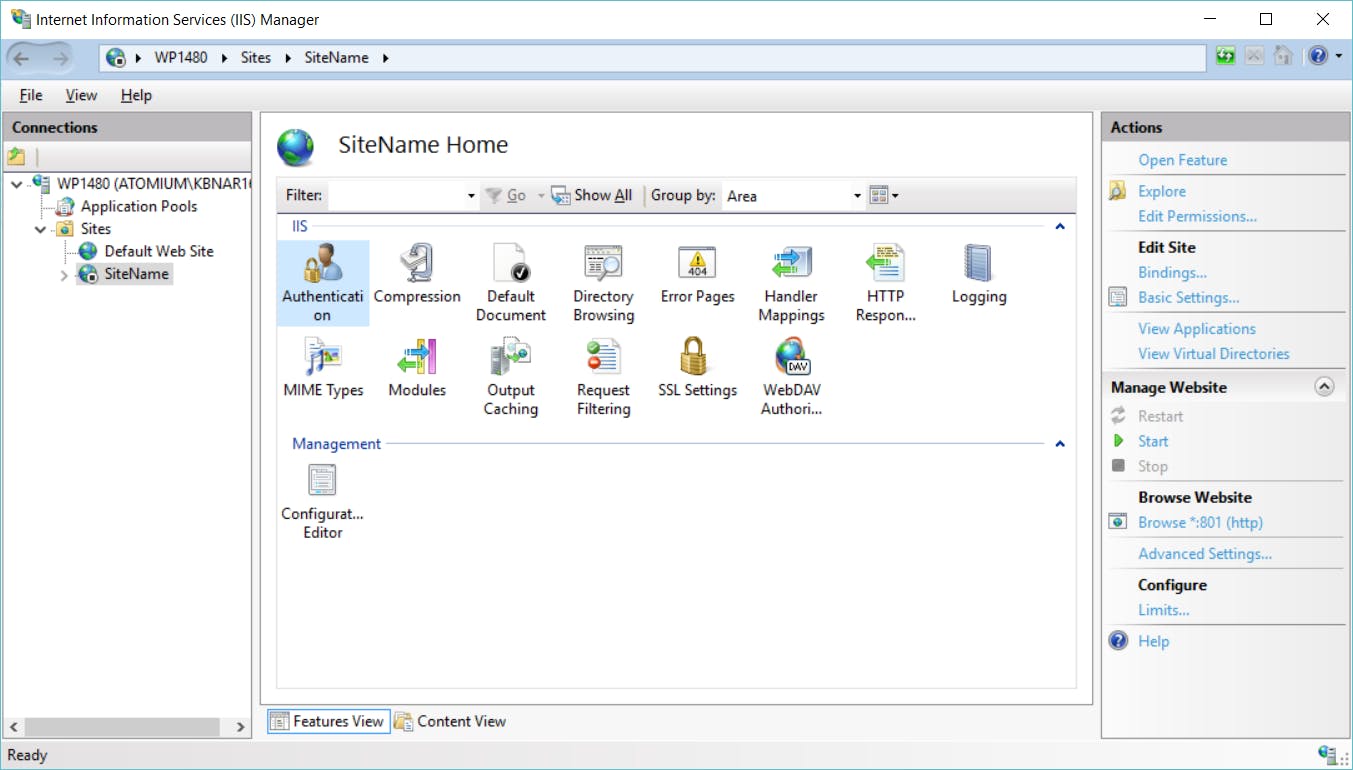
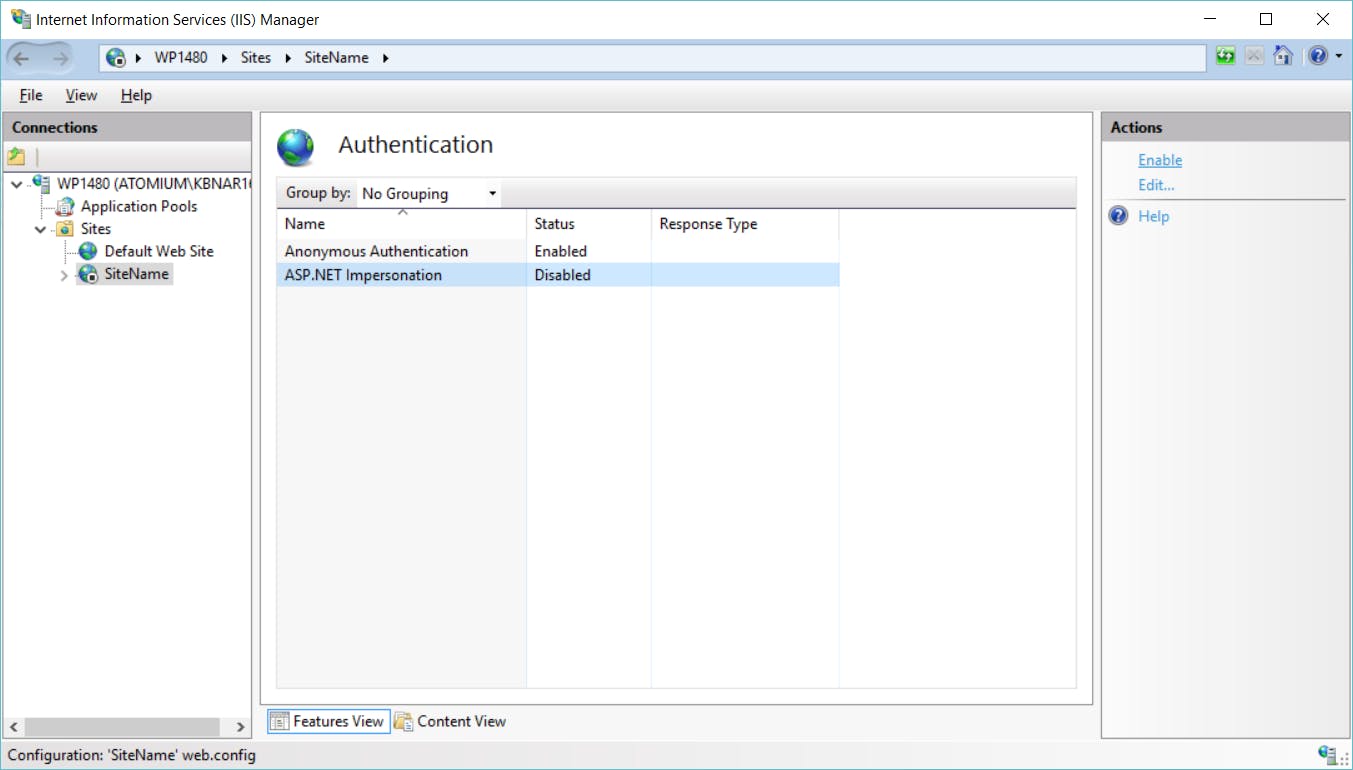
In the newly created site, double click on the authentication tab in the middle area. This will open all the authentication options available. Depending on what modules there are installed on the server, there will be more or less options available. Enable the options to provide support for them.
Enjoy your hosted WCF service. :)
