

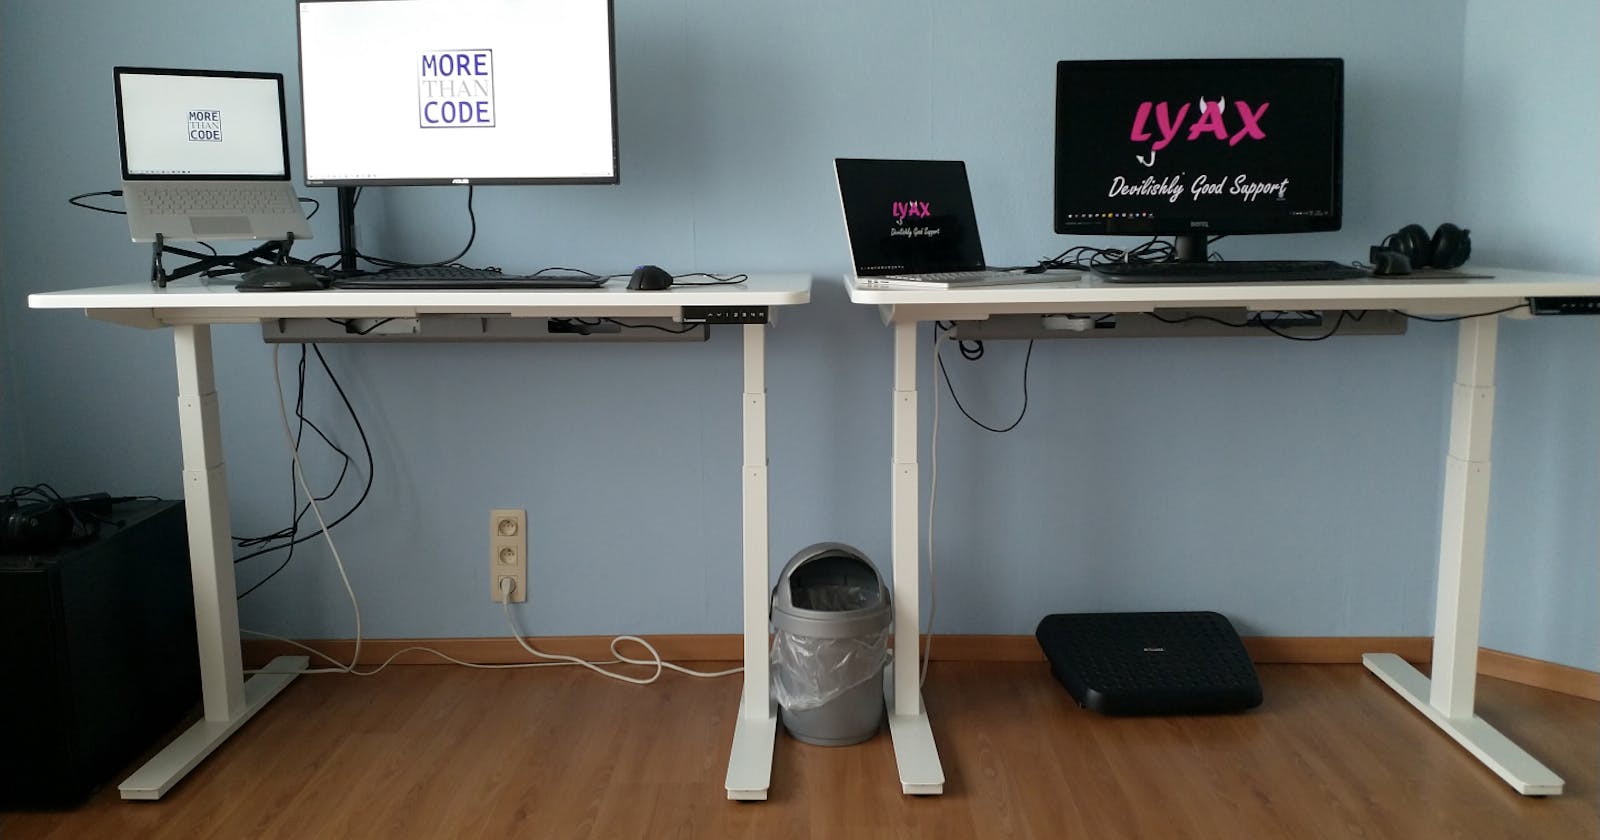


Since I've moved into a new house about a few months ago, I've upgraded my office quite a bit. Since writing about your office setup is such a big hit ever since Covid-19, I decided to add mine as well. I know I'm a bit late to the party, but then again, I only recently got all the parts in. So lets start with the standing desk.
Disclaimer: I've bought all my gear myself with my own, hard earned, money. So no sponsorship here! Which is why I can give you the good and the bad. I'm going to start with the new desk setup: a standing desk, ergonomic chair and monitor stand, all ordered from Autonomous. I ordered these parts 11th of June 2020.

The first item to arrive is the SmartDesk 2 Premium. Actually, that's not true, the cable trays arrived after 2 weeks or so, but without the table, they are pretty much useless. Combined with the table though, they are really convenient. The tables arrived about a month after I ordered them.
A SmartDesk arrives in two packages. One is the table top, the other are the legs, the electronic buttons and all the screws. Putting it all together is very easy. The instructions are clear and easy to follow. Except a Philips head screwdriver, all tools are supplied.
Assembly is almost a one man job. It starts with attaching the mechanical legs to an iron frame. Then comes a bit tricky part of attaching the frame to the table top. It's a bit trial and error to get it aligned with the pre-drilled holes, but it's not that hard. Then comes the part where I needed help: flipping the table. Because the legs are mechanical, they weigh quite a bit and the large surface of the table makes it unruly to grab. I think I could manage to do this on my own, but it was so much easier when my wife gave me a hand.
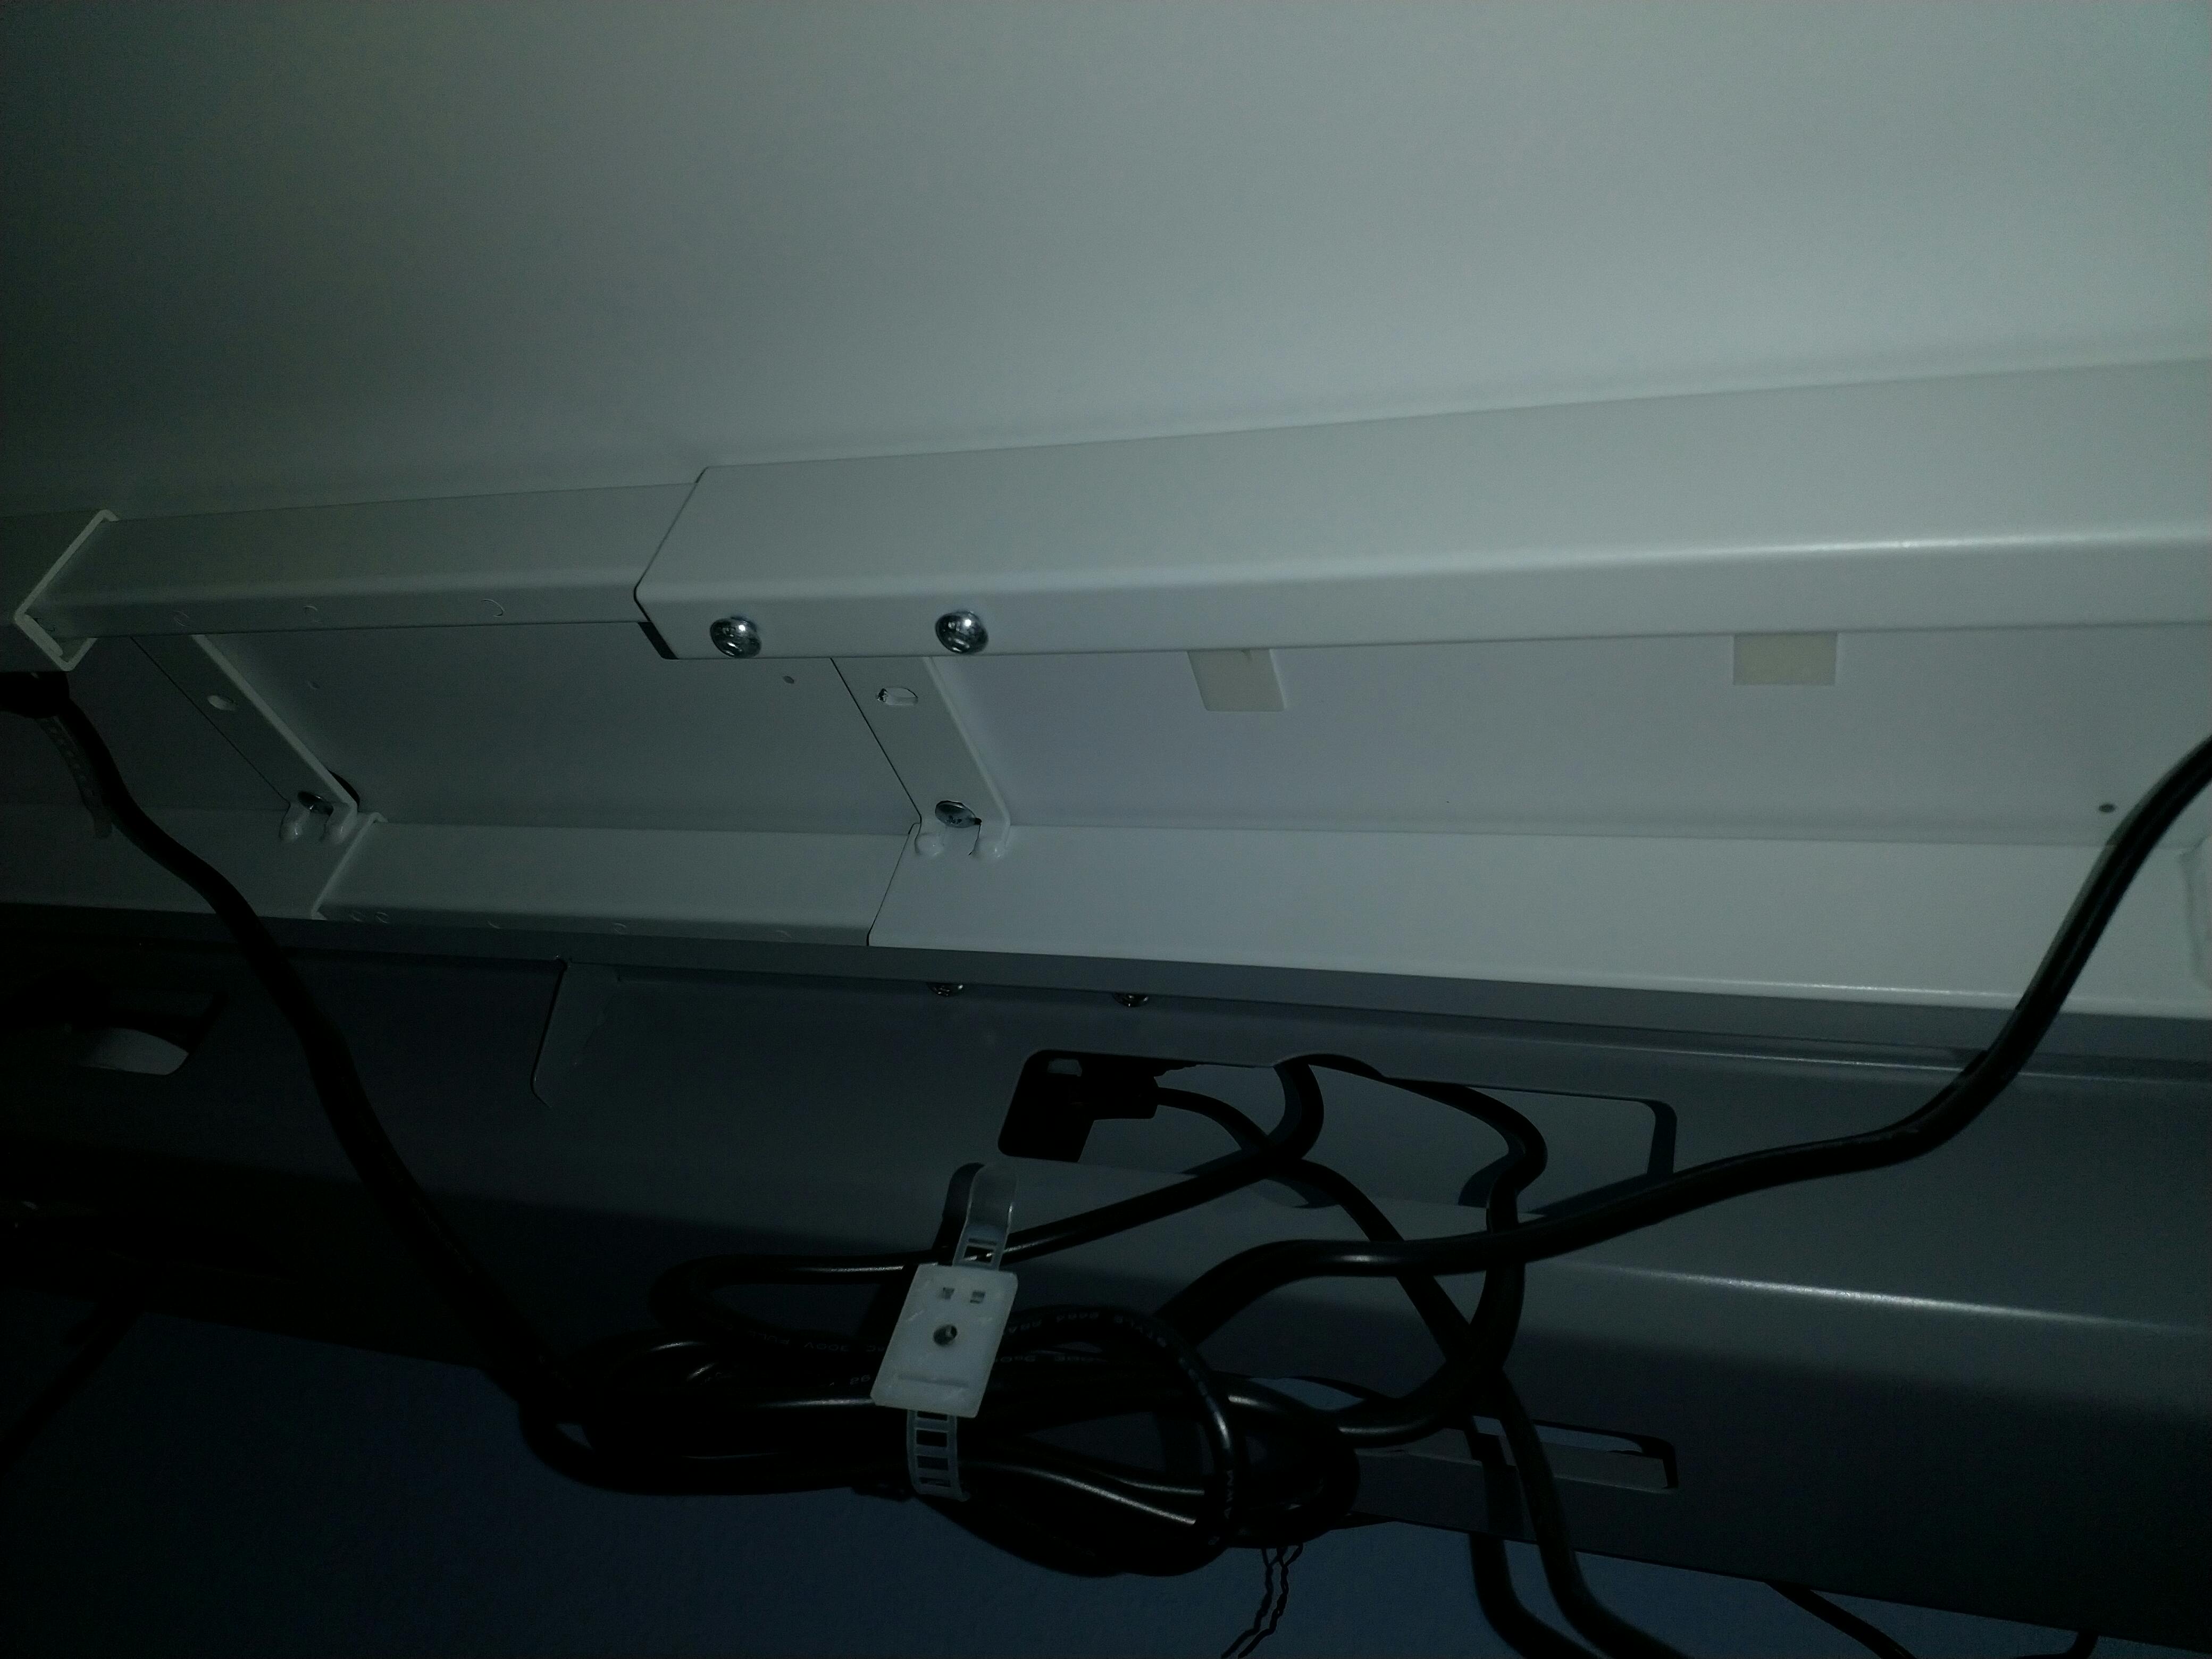
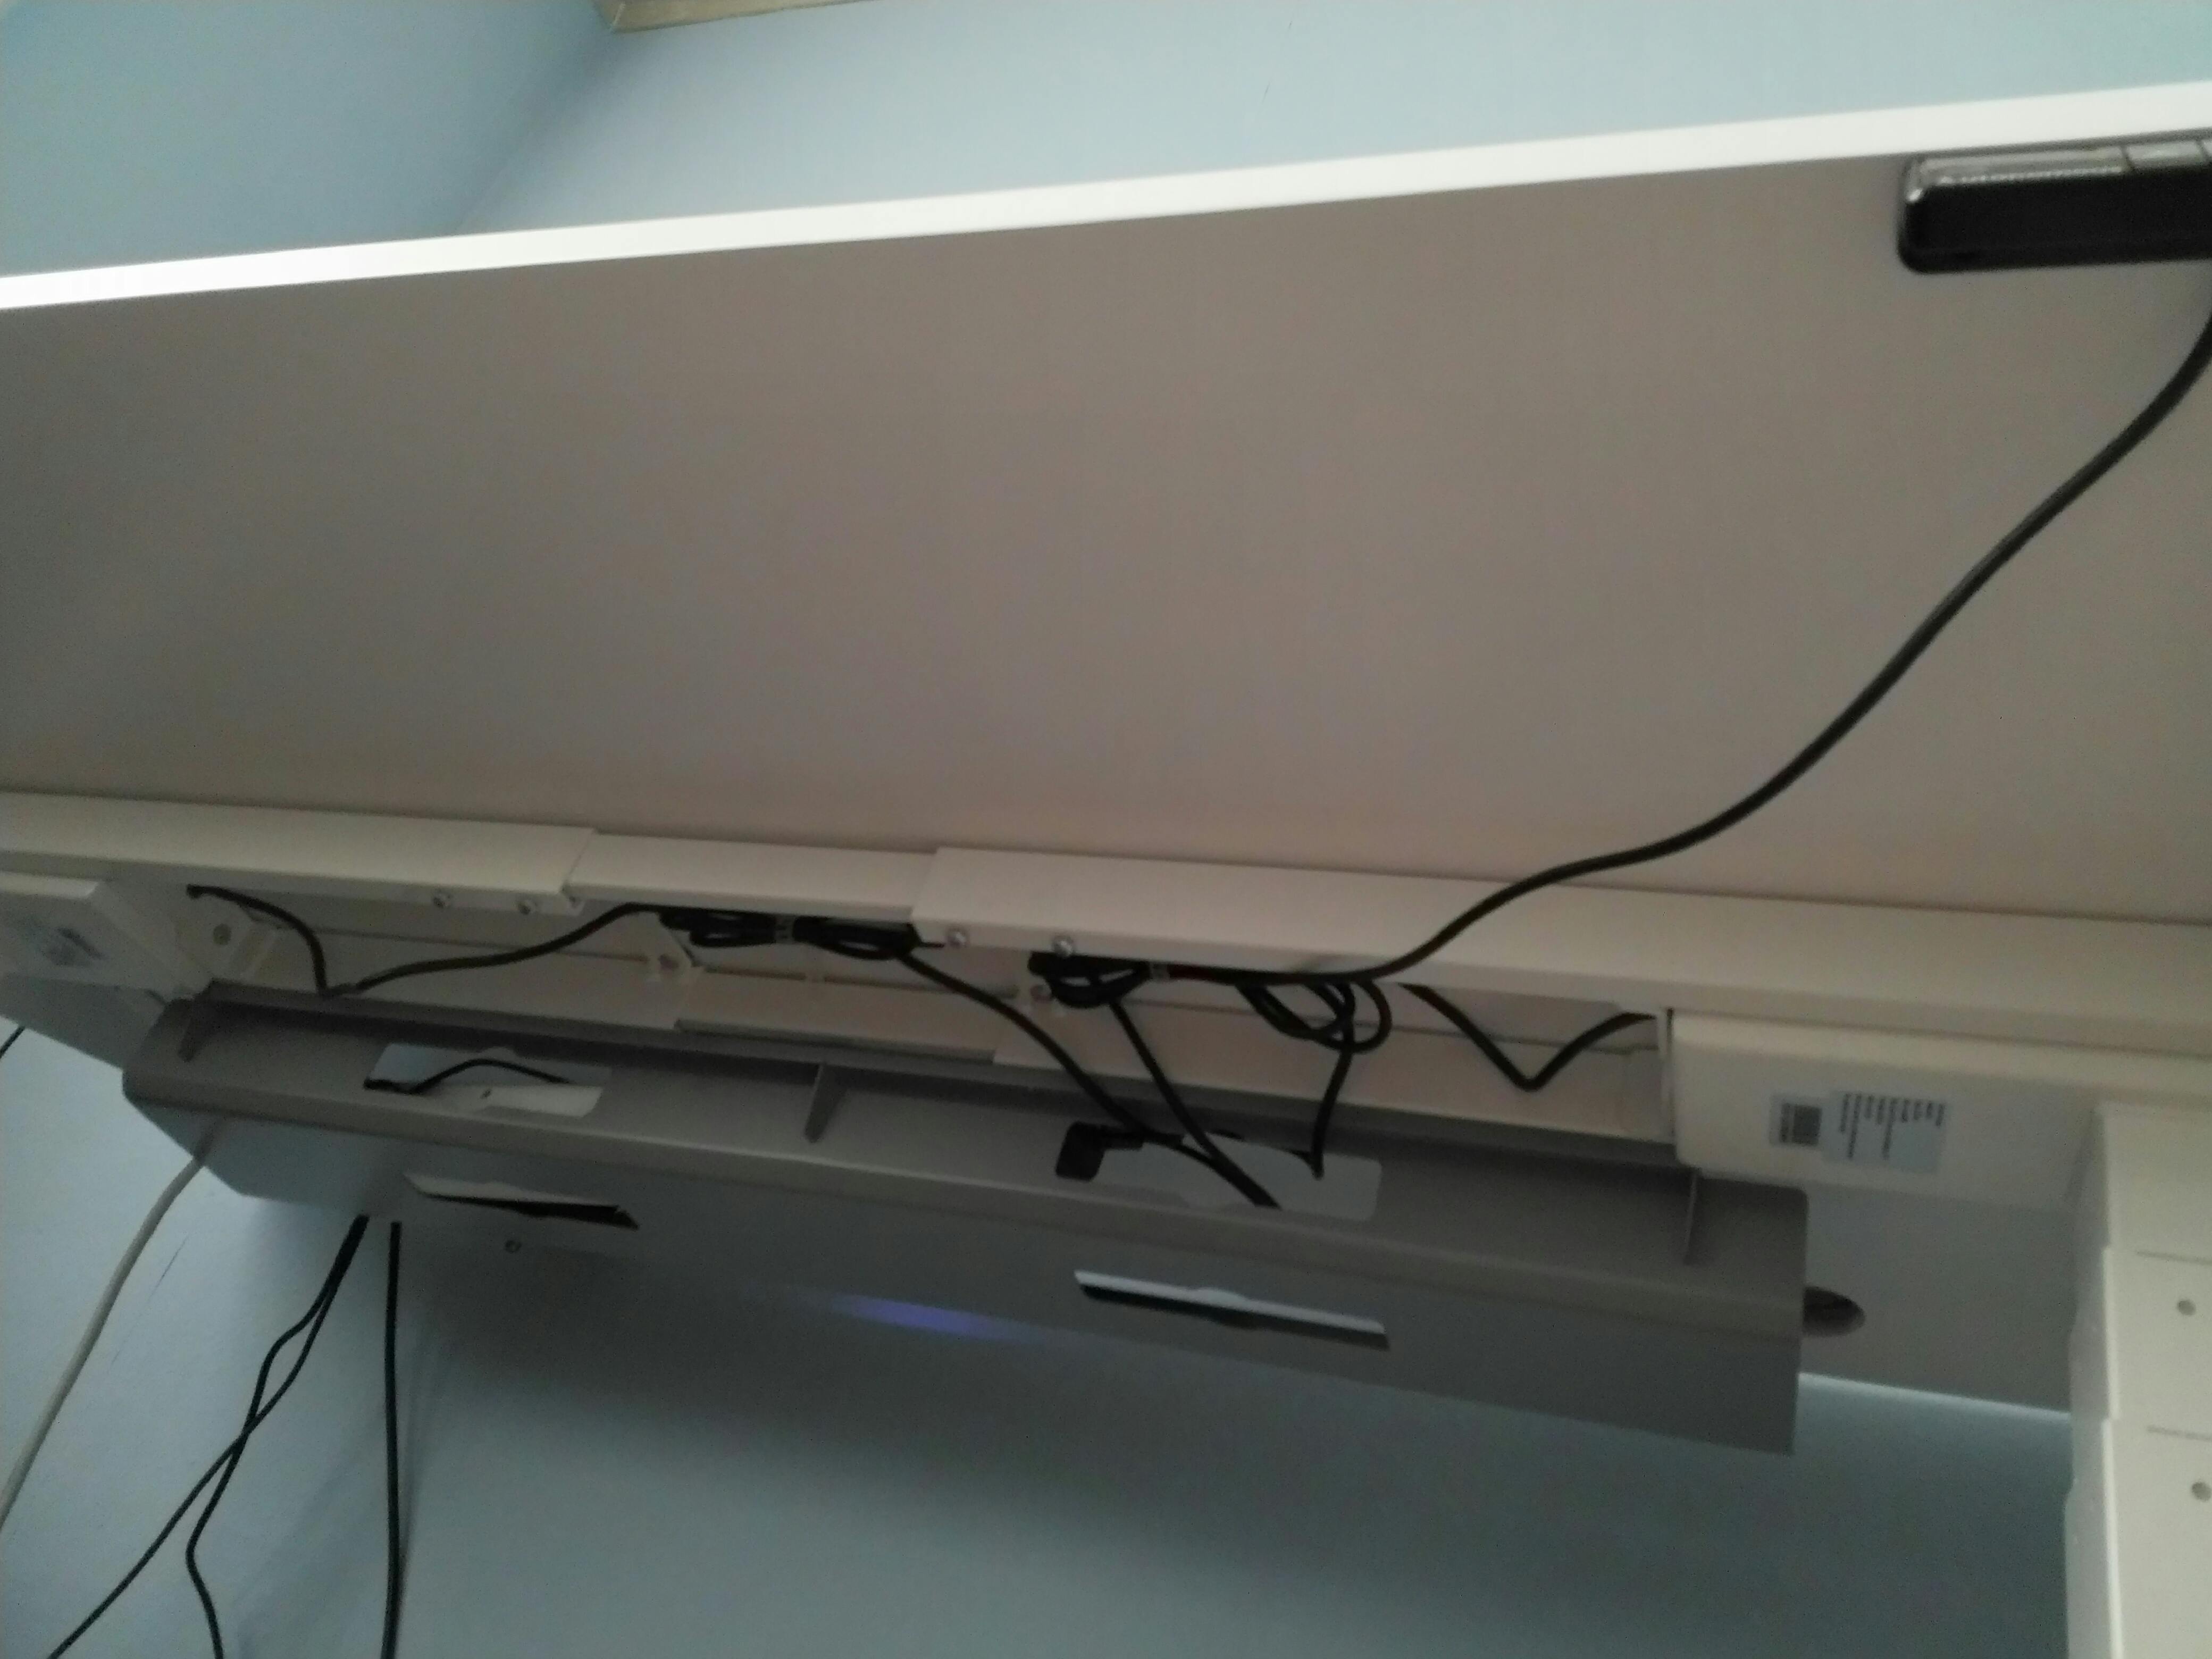
The cable trays can very easily be attached when the table is still upside down. I'm very happy that I ordered them as they are a great place to store excess cables, power strips and laptop chargers that don't need to move every week.
For even more cable management, there are some zip ties with a sticky edge so I can attach the cables from the buttons to the underside of the table without them hanging in the way or taking up space in the cable trays. The only downside is that after about a month, the glue on my wife's desk gave out. It's easily fixed with some super glue, but it's annoying to do after the table is in the upright position.
Attaching the power cable for the legs and cables for the buttons is just plug and play. They look like pc power cable plugs, so they only attach one way. The console has up and down buttons, 4 numeric buttons (1 through 4) and an M button. After plugging in the table for the first time, I have to press the up and down button at the same time to reset the height. If there is ever a problem, this is how the table resets. Setting the table at the right height, is very easy. I just press the up and down buttons until it has the right height.

Programming the height is a bit strange and I did have to look it up. I first tried to press the number for a few seconds, but that did nothing. The correct way is to press the M button for several seconds until the height on the display starts blinking. Then I press the number I want to program. So I set the table at sitting height, pressed the M button until the display starts blinking and then pressed 1. Now button 1 is set to my sitting height. I did the same, but for standing height, for button 2. Now that these 2 heights have been programmed, it's a breeze to operate.
The materials of the table are sturdy and have a high quality feel to it. I think this table will serve me well in the years to come. There are a lot of small, really nice touches. The two that stand out for me are the two holes drilled into the table for cable management and rounded edges that are really comfortable when resting my arms.
Next week I'll write about my thoughts on the ergonomic chair that I ordered.